
We challenged DIY bloggers to dive into the new Snapfish and bring their photos home in unexpected, beautiful ways. They totally knocked our socks off! Today, we’re sharing tips from Rachel Smith of The Crafted Life, who added cheer to her custom pillow with a few (dozen) pom-poms.
Excerpt from The Crafted Life:
As much as I love the clean feeling of white walls and white bedding, I also crave color constantly. Since we don’t have any art hung in the bedroom yet, I decided to print one of my Instagram photos on a pillow using Snapfish Home Decor. To add an extra pop of color and playfulness to the pillow, I added some pom pom trim, all without a sewing machine.
Time: 45 minutes
Materials: pillow, fabric glue, pom pom trim, scissors

Since there isn’t any sewing involved when adding the pom pom trim, you’ll want to get it as close to the crease as possible. Apply your glue and press down the trim. Let each section (side) dry before moving on to the next.
I decided to layer another color behind. If you do more than one color, just be sure the layer before is completely dry beforehand so that it doesn’t move while you’re working. Let glue dry, trim the excess, and you’re done!
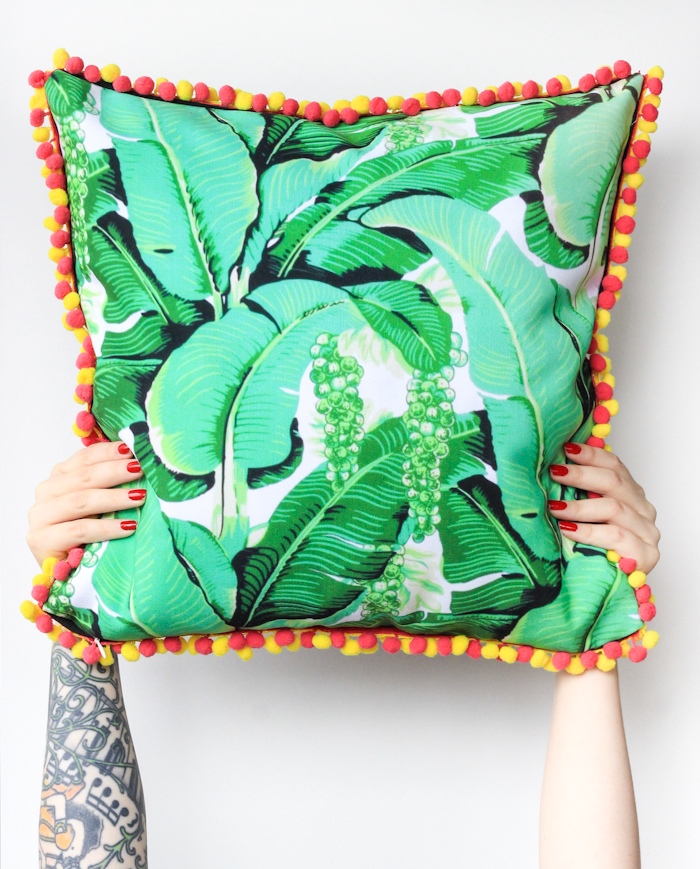
We have major heart eyes for this pillow transformation! Thanks for sharing this creative DIY, Rachel. Check out her post for the full how-to.
Photos courtesy of The Crafted Life