
Up your décor game this weekend with easy photo displays you can DIY from start to finish – all in 48 hours! Grab your favorite prints, a few supplies from your local craft store, and let’s get started.
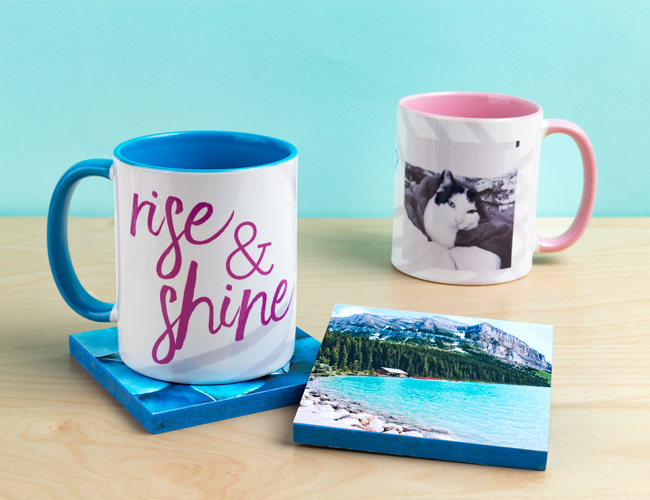
Color Accent Coffee Mug, Pink, 11 oz.
Photo Coasters
Give your coffee table some love with decorative coasters made with 4×4 square prints. Tip: Give a set of photo coasters and personalized Snapfish mugs as a gift!
1. Paint edges of a 4×4 wood block and let dry. Repeat with a second coat if needed.
2. Cover back of 4×4 square print with decoupage and adhere to the top of your wood block.
3. Decoupage a thin coat on the entire block, including the photo. Don’t worry – the decoupage will dry clear and your photo will shine through.
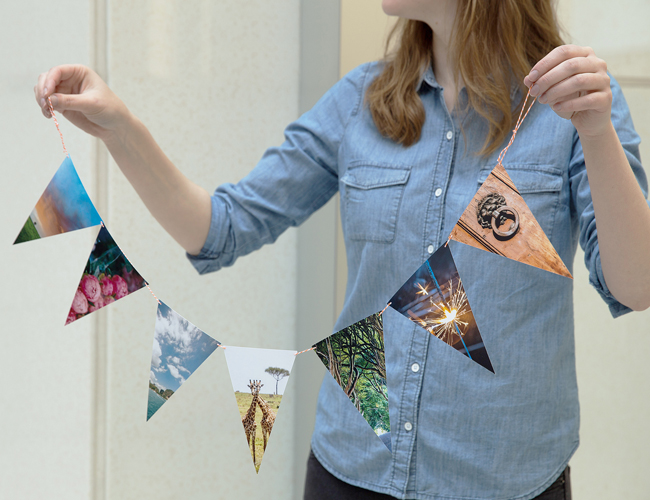
Photo Banner
Perfect for both celebrations and everyday décor, a photo banner is a simple, budget-friendly way to add personality to your space. Tip: Choose portrait-oriented 4×6 prints with the subject in the middle of the photo so you don’t crop it out when slicing triangles.
1. Find the midpoint of each 4×6 photo by measuring the short side with a ruler. Mark with a pencil.
2. Use a paper cutter to slice from each corner to the midpoint for perfectly straight lines.
3. Punch two small holes at the top of each new triangle (you can find mini hole punchers at your local craft store), and thread together with baker’s twine.
4. Tie off ends with a loop and hang for instant awesome!
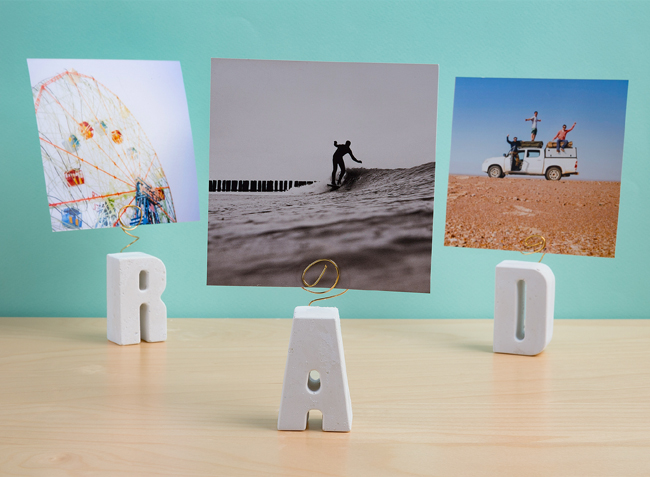
Cement Letter Photo Holders
Beautify your workspace with these mini photo displays and 4×4 prints from Snapfish. Tip: We were inspired by I Spy DIY’s cement letter holders, check out the how-to on her blog!
1. Mix cement according to box instructions. With a plastic spoon, scoop cement into a silicon mold – you can find cute alphabet molds online.
2. Let set for five minutes. While mixture is malleable, insert a wire you’ve twisted into a spiral.
3. Allow to dry overnight, then gently pop out letter. Display on desk and insert 4×4 square photo!
Ready for a DIY-filled weekend? Start printing your favorite photos with Snapfish!
Photographer: Joe Quintana
We love seeing what you come up with! Please tag us @SnapfishUS and #snapfish on Facebook, Instagram & Pinterest. Check out the Snapfish site for even more custom gift ideas.