
A family photo wall is one of the most personal ways to decorate your home. Instead of hanging random photos over time, a thoughtfully planned photo wall brings your favorite people and memories together in a way that feels intentional, meaningful, and easy to update as your family grows.
Whether you want a gallery-style display or a family tree–inspired layout that shows generations at a glance, this guide walks you through how to create a family photo wall step by step—from choosing photos and planning your layout to hanging your wall art and keeping it fresh over time.
In This Photo Wall
Step 1: Decide What Story Your Photo Wall Will Tell
Before choosing frames or ordering prints, it’s important to decide what you want your family photo wall to represent. The strongest photo walls aren’t just collections of favorite pictures—they tell a clear story.
Think about what you want someone to understand when they see your wall. Is it a celebration of multiple generations? A snapshot of your immediate family’s everyday life? A visual timeline of major milestones?
Some common (and effective) approaches include:
- A family tree–inspired wall, with older generations at the top and younger family members branching below
- A chronological timeline, starting with older photos and moving toward the present
- A mix of milestones and candid moments, combining formal portraits with everyday memories
Having a clear direction early on makes it much easier to choose photos, layouts, and wall art that feel cohesive rather than cluttered.
Step 2: Choose the Right Wall and Understand Your Space
Where you place your family picture wall matters just as much as what goes on it. The best walls are highly visible but not overly busy, allowing your photos to be the focal point.
Popular spots include living room feature walls, staircases, hallways, and dining areas. Once you’ve chosen a wall, take a few minutes to measure the available space and note any obstacles like light switches, vents, or furniture.
This step helps you determine:
- How many photos the wall can comfortably hold
- Whether you’ll need a mix of sizes or one consistent format
- How much spacing to leave between pieces
A quick photo of the empty wall can be surprisingly helpful when planning your layout later.
Step 3: Select Photos That Work Well Together
Not every favorite photo needs to be included. A strong family photo wall feels intentional because the images work well together visually and emotionally.
Start by narrowing your selection to photos that share similar qualities—whether that’s lighting, color tone, or subject matter. Mixing posed portraits with candid moments keeps the display feeling natural, while too many dramatically different photos can make the wall feel chaotic.
A few helpful guidelines:
- Choose images with similar brightness or color tones
- Mix close-up portraits with wider group shots
- Limit heavily filtered photos so they don’t stand out too much
- Consider converting some images to black and white for consistency
This is also a great time to think about balance. If one generation or time period dominates the wall, you may want to even things out so the story feels complete.
In This Photo Wall
Step 4: Choose Frames and Wall Art That Feel Cohesive
Frames and wall art styles do more than hold your photos—they set the overall tone of your display. Choosing a consistent style helps your wall feel polished, even if the photos themselves span decades.
Matching frames create a clean, modern look, while mixing frame styles can feel more collected and personal when done intentionally. Sticking to a limited color palette (such as black, white, or wood tones) keeps mixed frames from feeling messy.
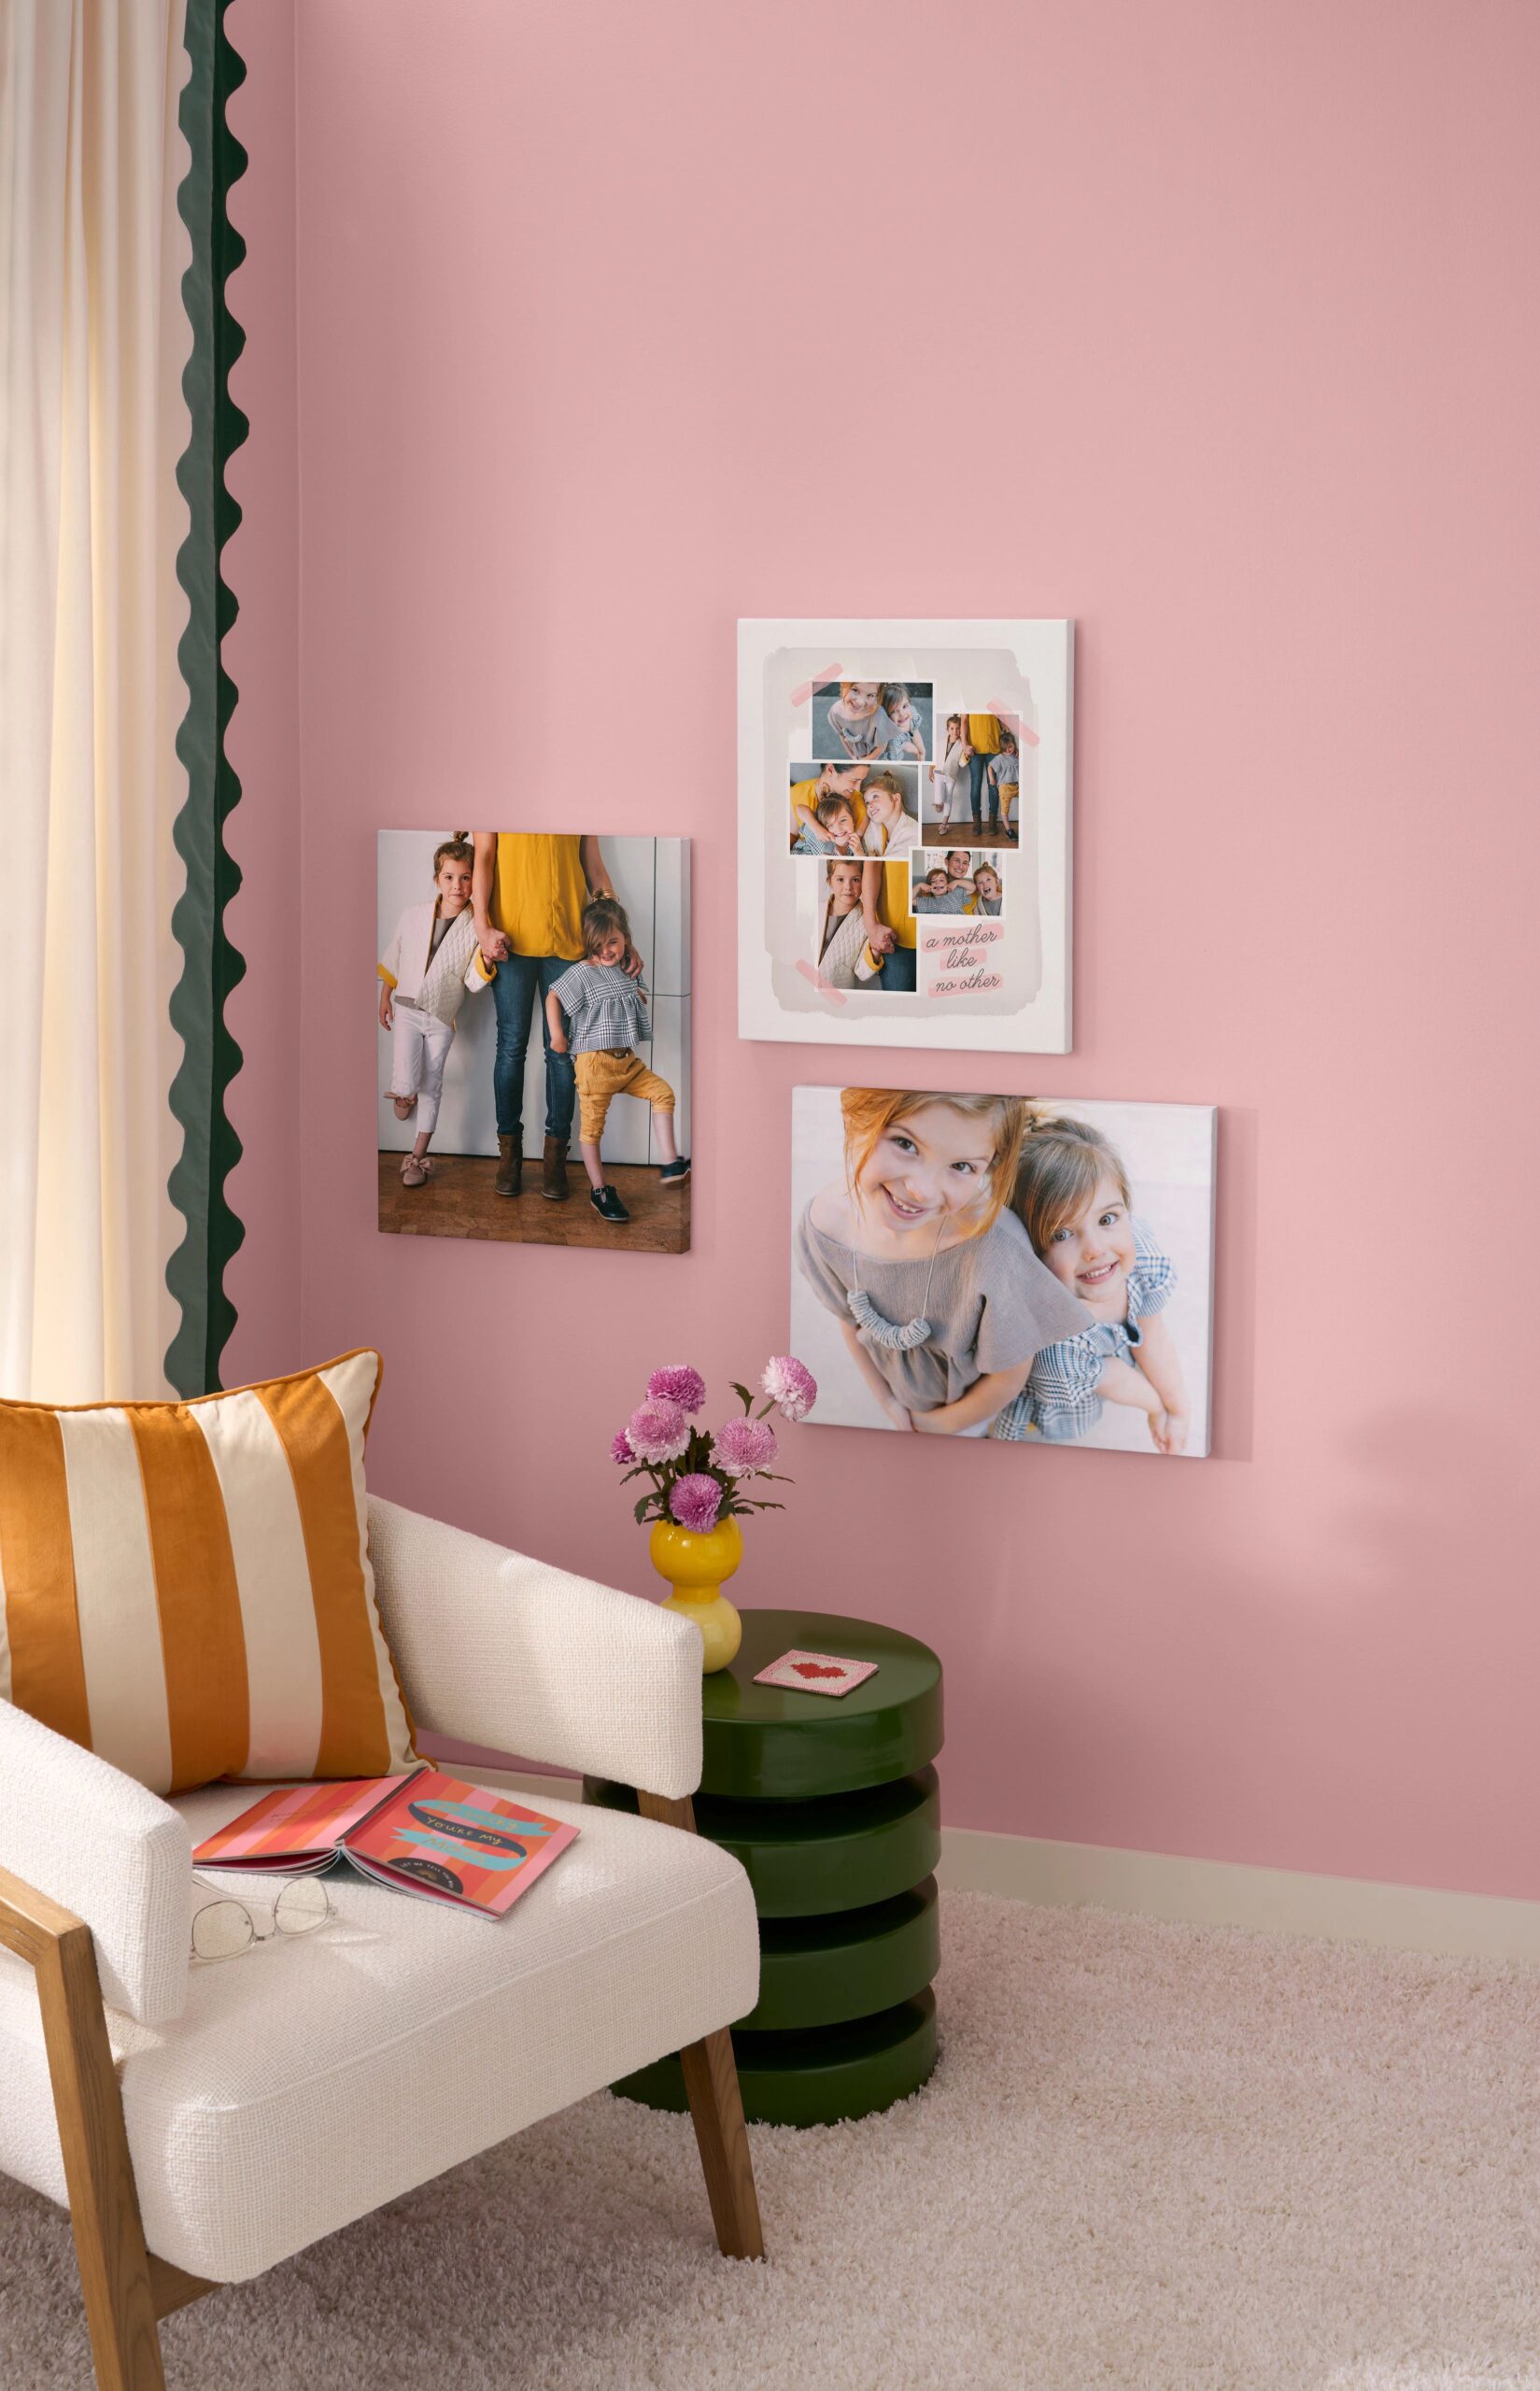
You can also add visual interest by mixing different types of wall art:
- Framed photo prints for structure
- Canvas prints for larger statement pieces
- Metal prints with modern finishes for contrast
- Photo tiles for flexibility and easy updates
For a family tree–inspired wall, larger pieces often work well as anchor points, with smaller prints arranged around them to suggest branching connections.
Step 5: Plan Your Layout Before You Hang Anything
Planning your layout ahead of time is one of the most important steps—and one of the easiest to skip. Taking the time to map things out prevents uneven spacing and unnecessary holes in the wall.
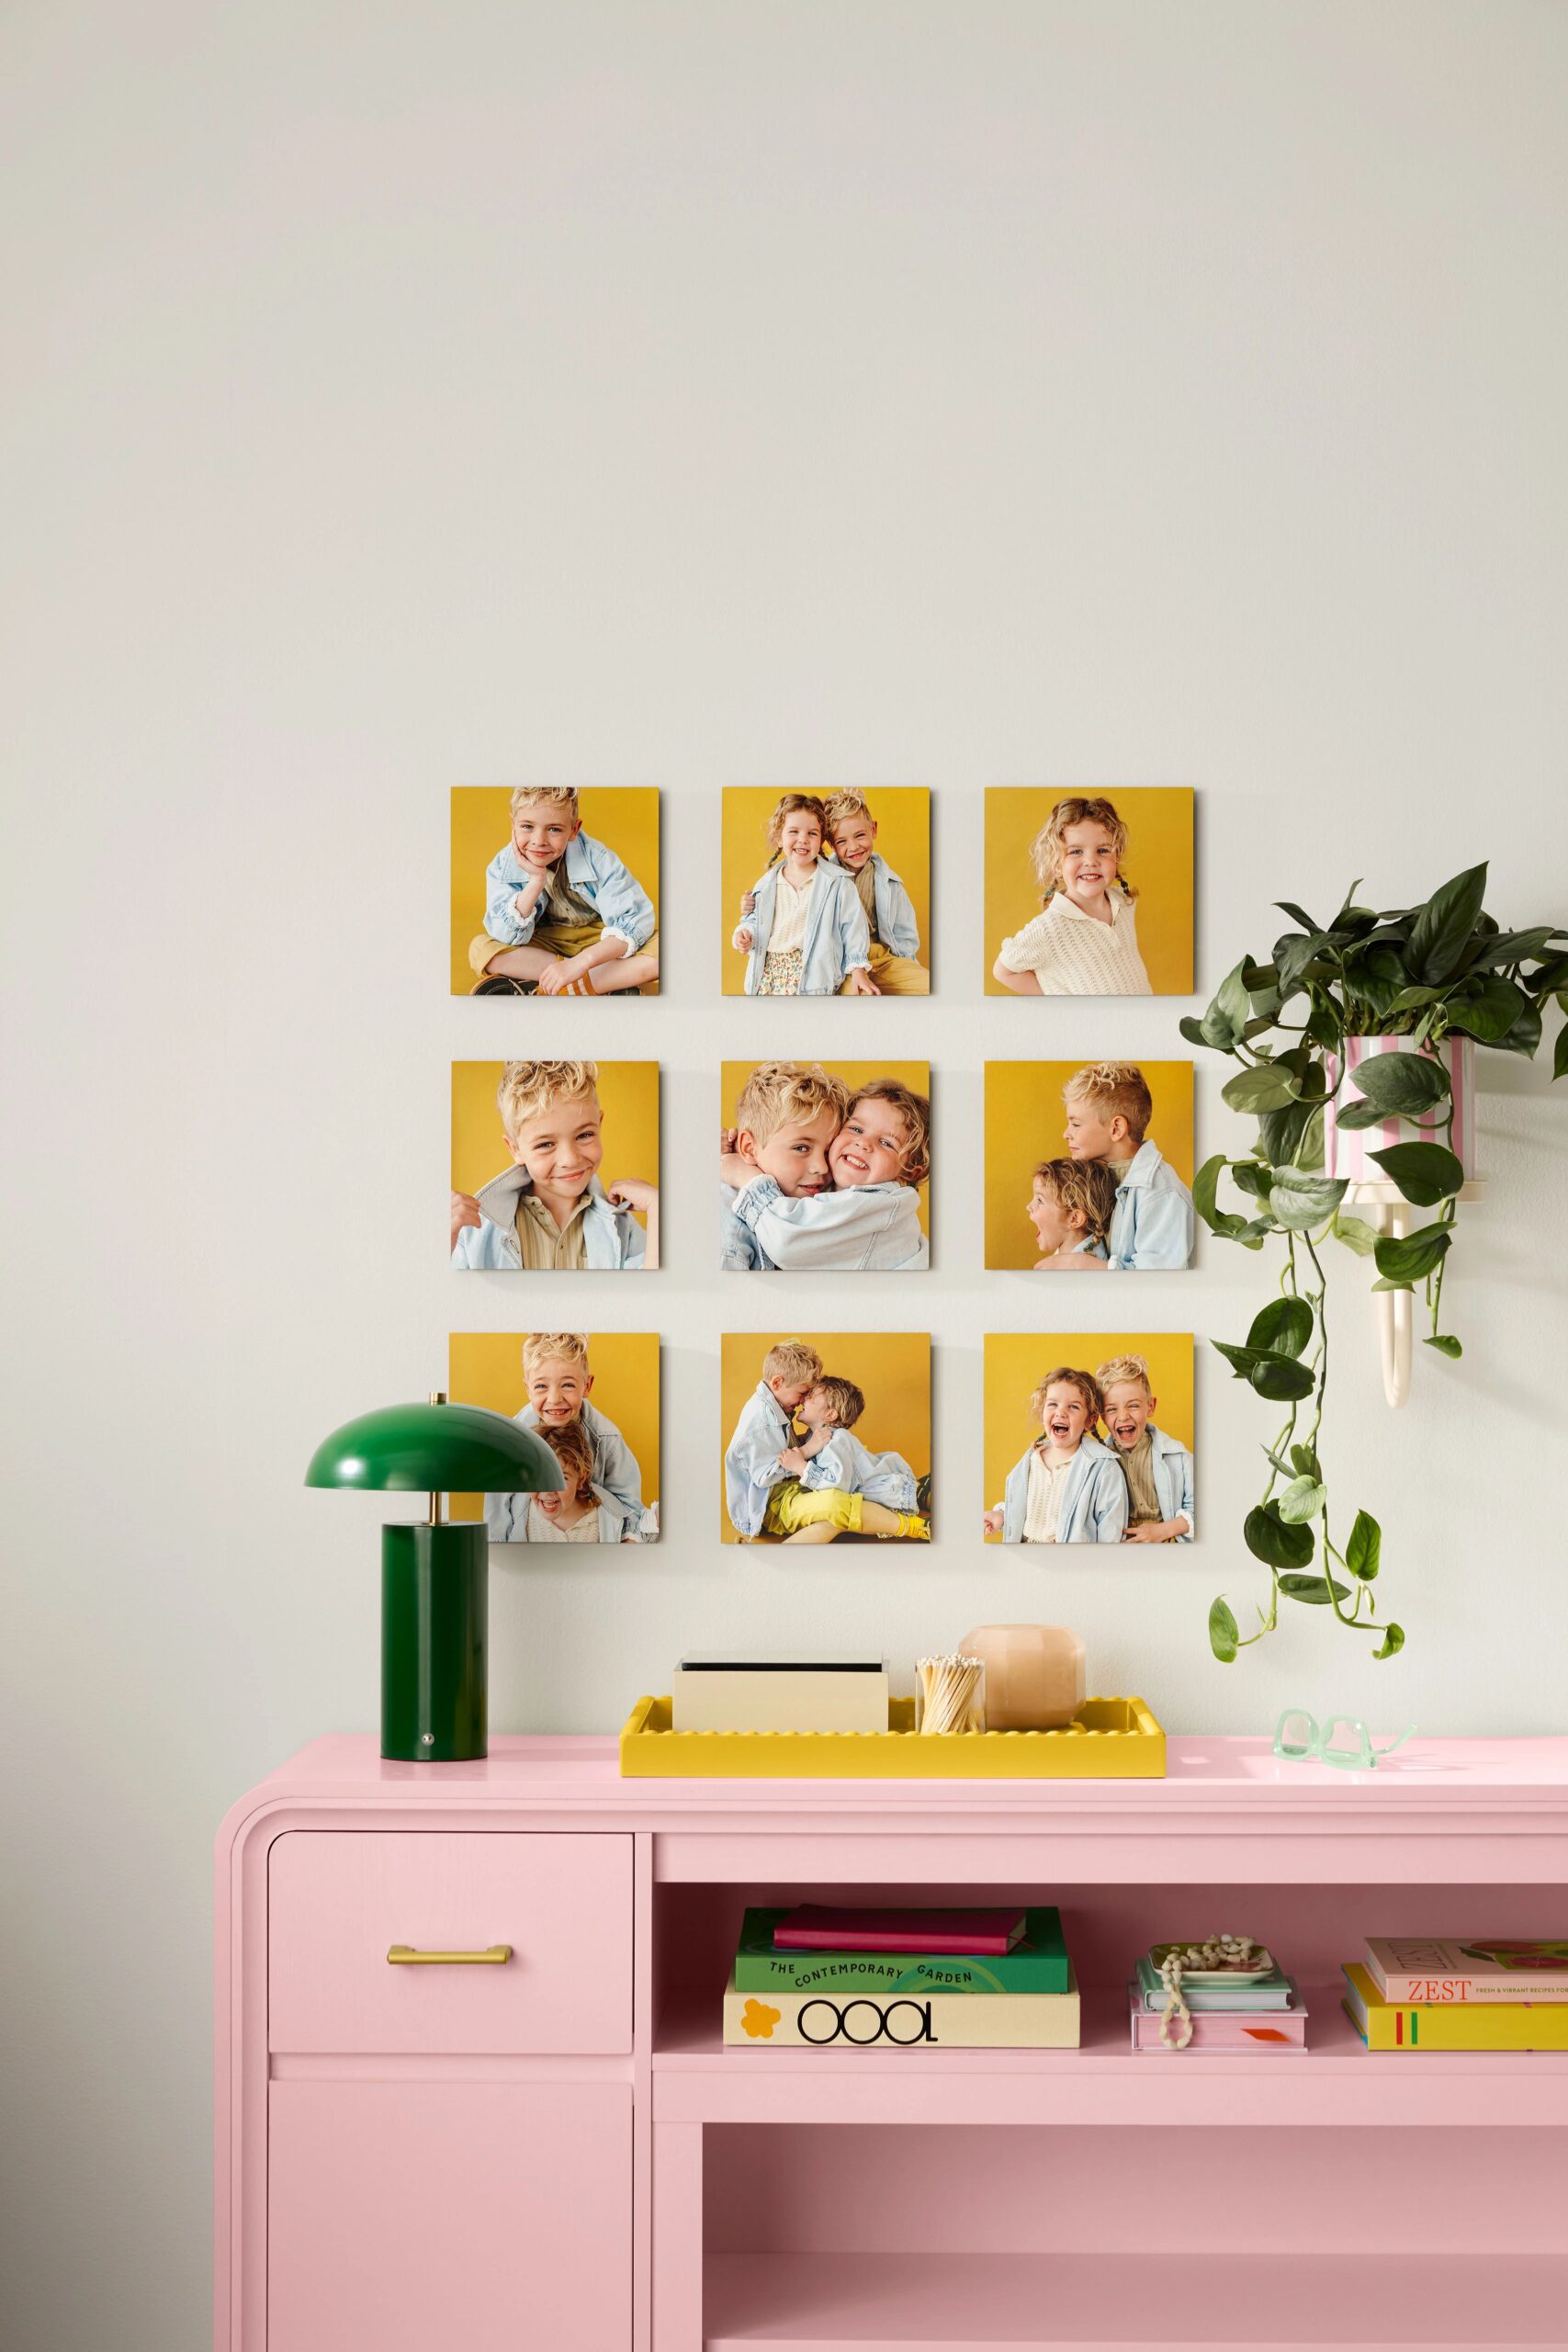
Some popular family photo wall layout styles include:
- Gallery walls, which feel organic and flexible
- Grid layouts, which are symmetrical and modern
- Tree-style layouts, with photos arranged vertically and outward
- Linear layouts, ideal for hallways or staircases
Before hanging, lay everything out on the floor or use paper templates taped to the wall. This allows you to adjust spacing, swap photos, and fine-tune the arrangement until it feels right.
Step 6: Hang Your Family Photo Wall
When it’s time to hang your wall art, start with the largest or most central piece and work outward. This creates a visual anchor and makes it easier to keep everything aligned.
Take your time during this step. Use a level, measure spacing carefully, and step back frequently to see how the wall looks from different angles. If you expect to update your wall often, removable hanging solutions can make future changes much easier.
Step 7: Keep Your Photo Gallery Wall Updated Over Time
One of the best things about a family picture wall is that it doesn’t have to stay the same forever. As your family grows and new memories are made, your wall can grow with you.
Simple ways to keep it feeling fresh include:
- Swapping in new photos annually
- Rotating images seasonally
- Adding new frames for milestones like graduations or weddings
- Updating smaller prints without changing the entire layout
Keeping frame styles consistent makes these updates feel seamless rather than disruptive.
For families who enjoy storytelling through design, adding small details like names, dates, or short captions can make a photo wall even more meaningful. These details work especially well on larger anchor pieces and can help future updates feel intentional rather than random.
Final Thoughts: A Family Photo Wall That Grows With You
A family photo wall isn’t about perfection—it’s about connection. With a little planning and intention, you can create a display that reflects your family’s history, celebrates the present, and leaves room for the future.
By focusing on story, balance, and thoughtful design, your family picture wall becomes more than décor—it becomes a living part of your home.
Additional Resources: