Oh, what fun it is to get FREE 4×6 photo prints every month with the app! Freshen up your holidays with a festive DIY that gets those photos in the holiday spirit.
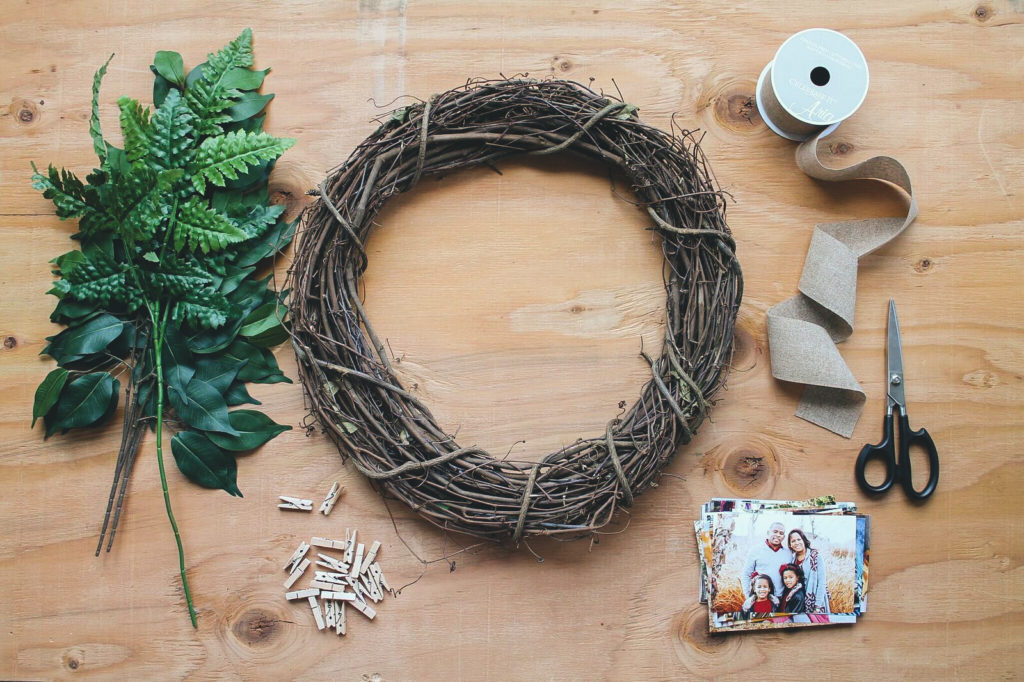
What you’ll need:
– a starter wreath
– faux greenery sprays
– larger width ribbon
– mini clothespins
– scissors
– photo prints
Step 1: Tie a bow
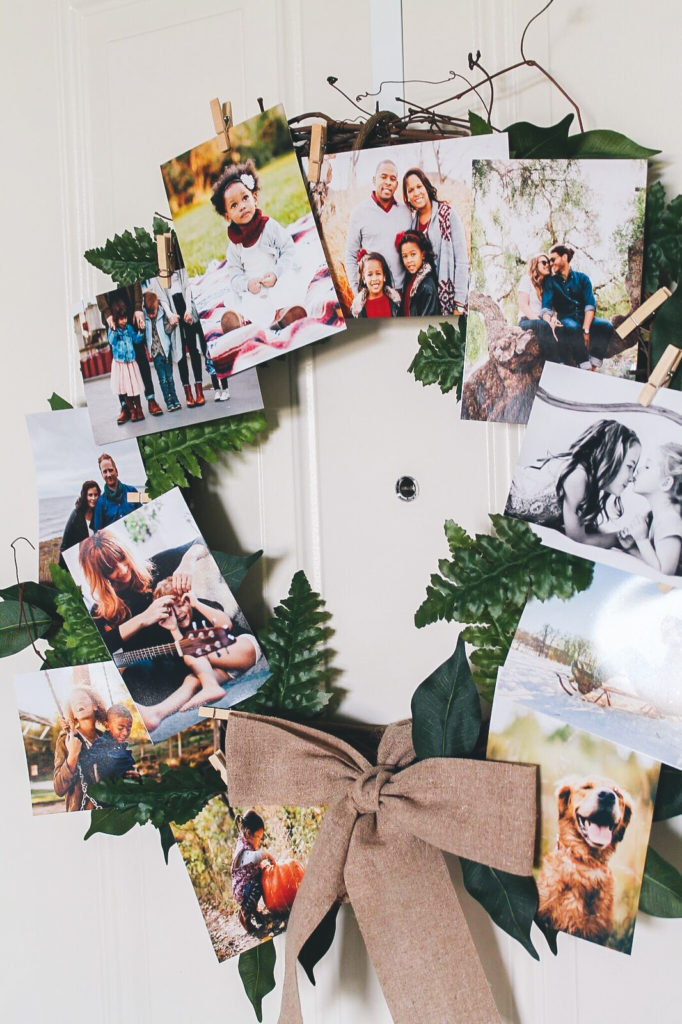
Cut ribbon to 24 inches. Tie it securely around the bottom of your wreath, then tie a bow. Be sure to keep the length of the “rabbit ears” even. You may want to cut the ends like we did for a more decorative look.
Step 2: Arrange greenery
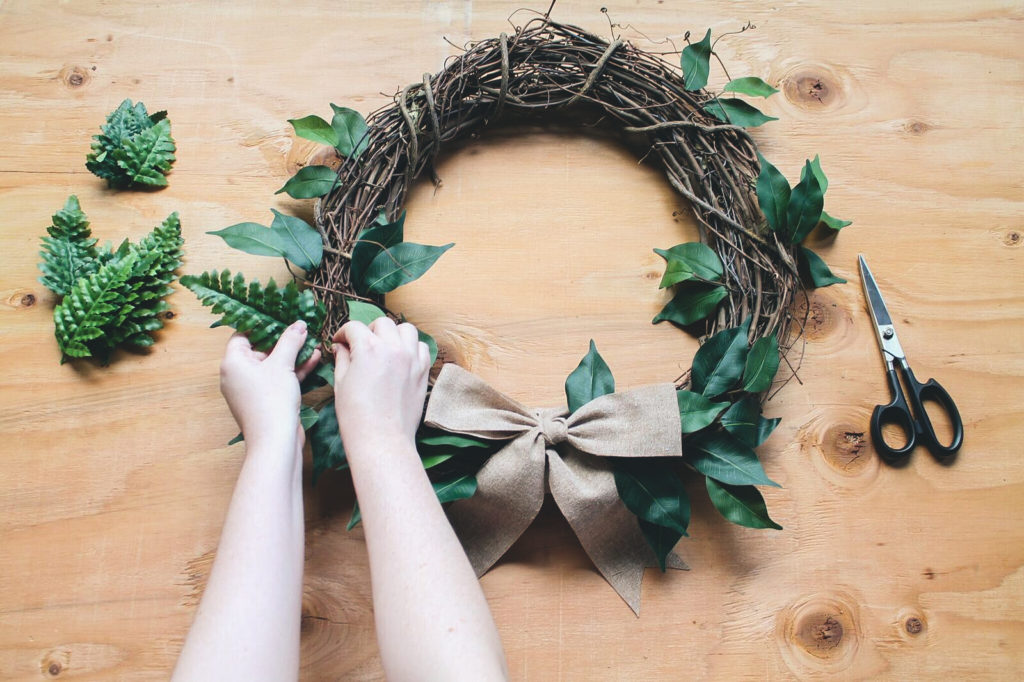
Trim greenery sprays by cutting each of the individual leaves off of the main branches, carefully keeping the stalk of each leaf as long as possible. Arrange the leaves onto your wreath, tucking each one in at the stalk so they stay securely in place.
Step 3: Attach photos
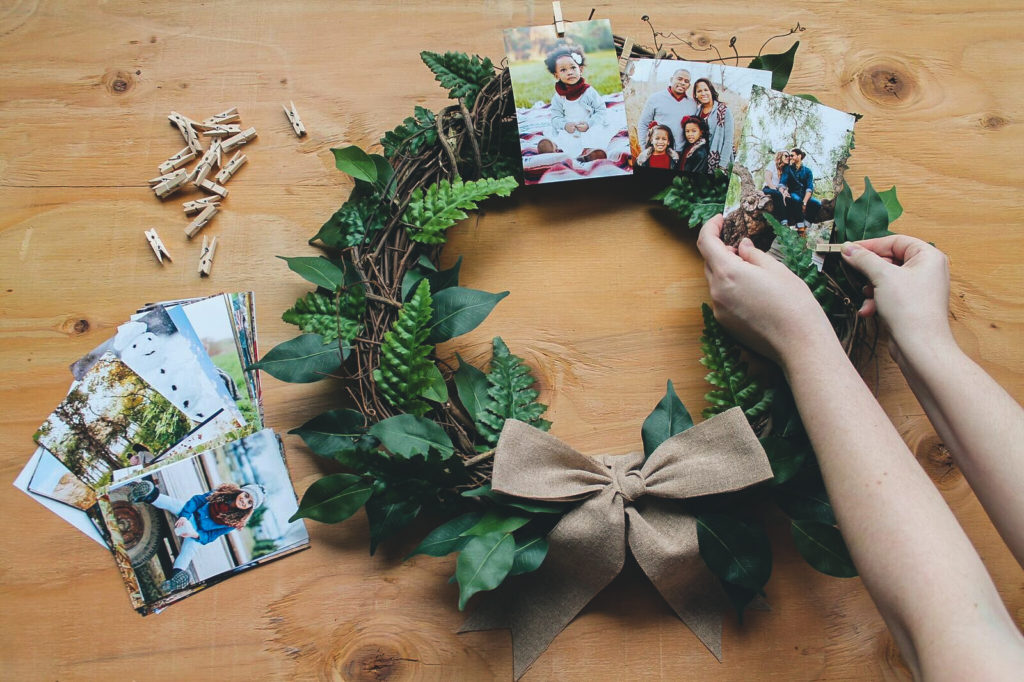
Select the photos you’d like to use, and attach each one to the wreath with a clothespin. You can easily play with the arrangement of your photos (or swap them out for new ones) since you’re not gluing them down.
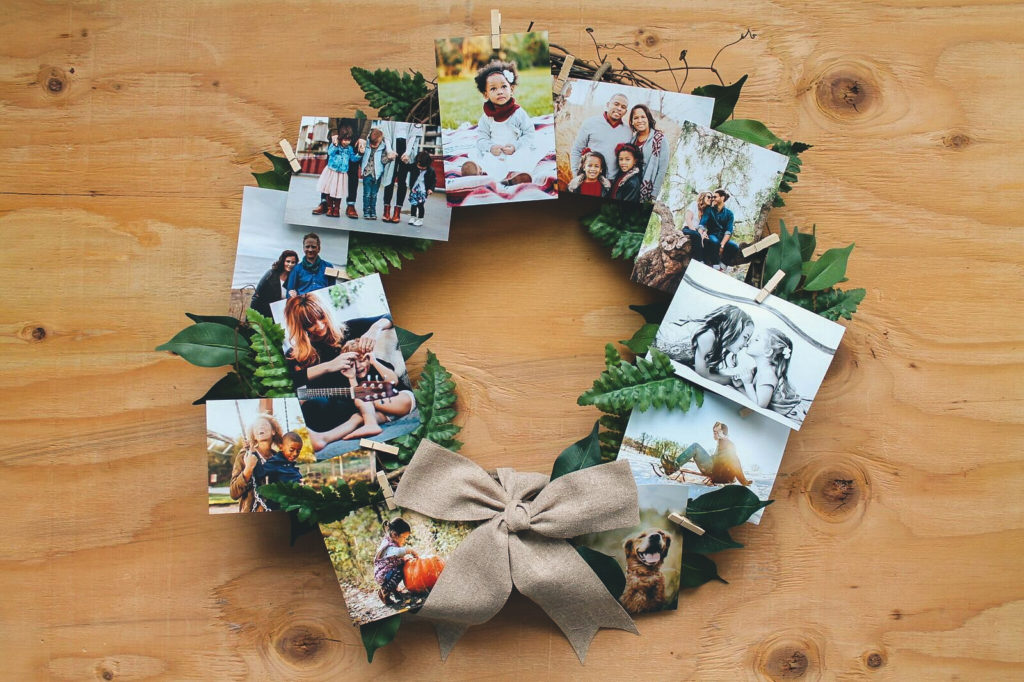
Looking good! We hope you enjoy your fresh and festive photo arrangement all season long.
Download the Snapfish app to start redeeming your 100 free photo prints–just pay shipping! See promotional terms for details.
We love seeing what you come up with! Please tag us @SnapfishUS and #snapfish on Facebook, Instagram & Pinterest. Check out the Snapfish site for even more custom gift ideas.
