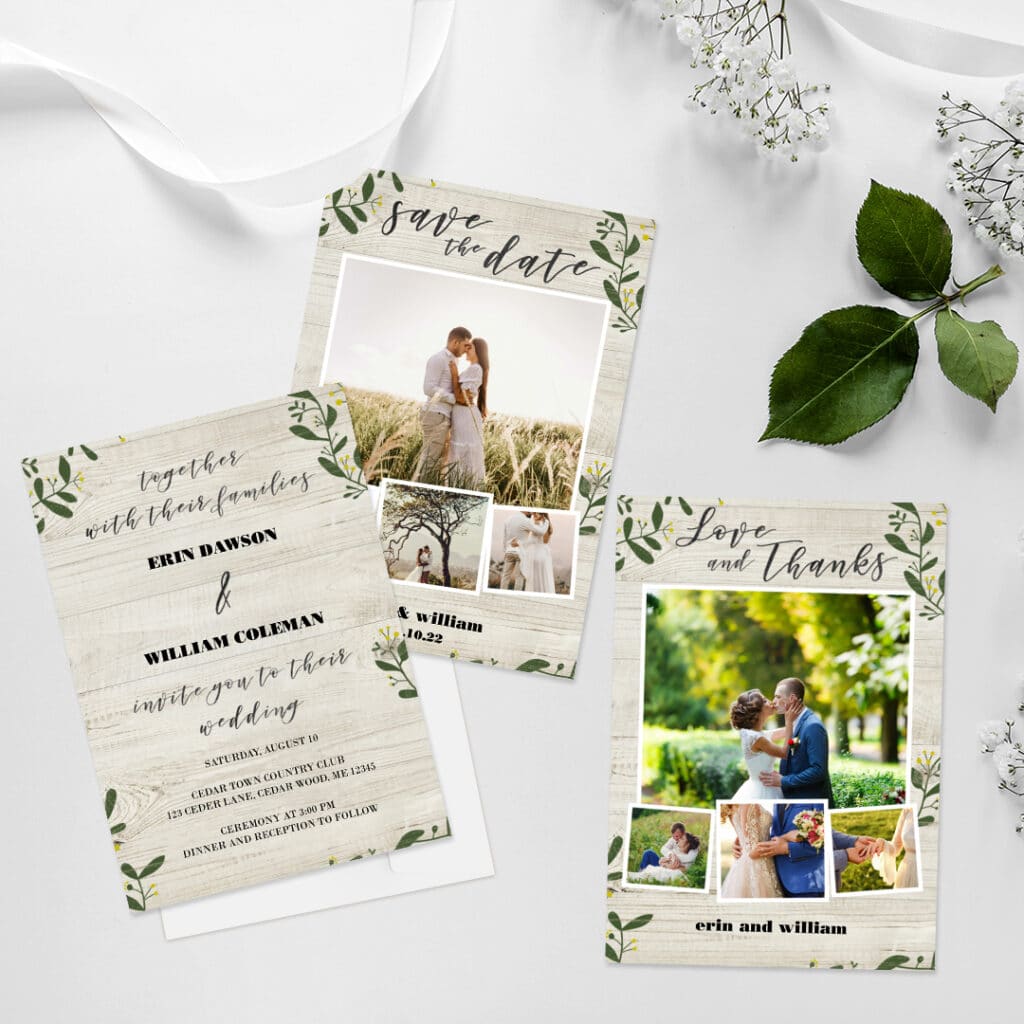
Weddings are back on again! And as the first exciting step in your journey to marital bliss, you should design and send out ‘save-the-date’ cards to announce your big day. Even if you don’t have all your specific details set, it’s still important to send out ‘save-the-dates’ so you can give everyone plenty of time to prepare and mark it on their calendars. Your guests may need time to take off work, prepare for travel, and even buy a wedding outfit. Read on to learn how to create beautiful ‘save-the-date’ cards online that align with your wedding theme and get your guests jazzed about your main event.
How To Design Your Save The Date Card
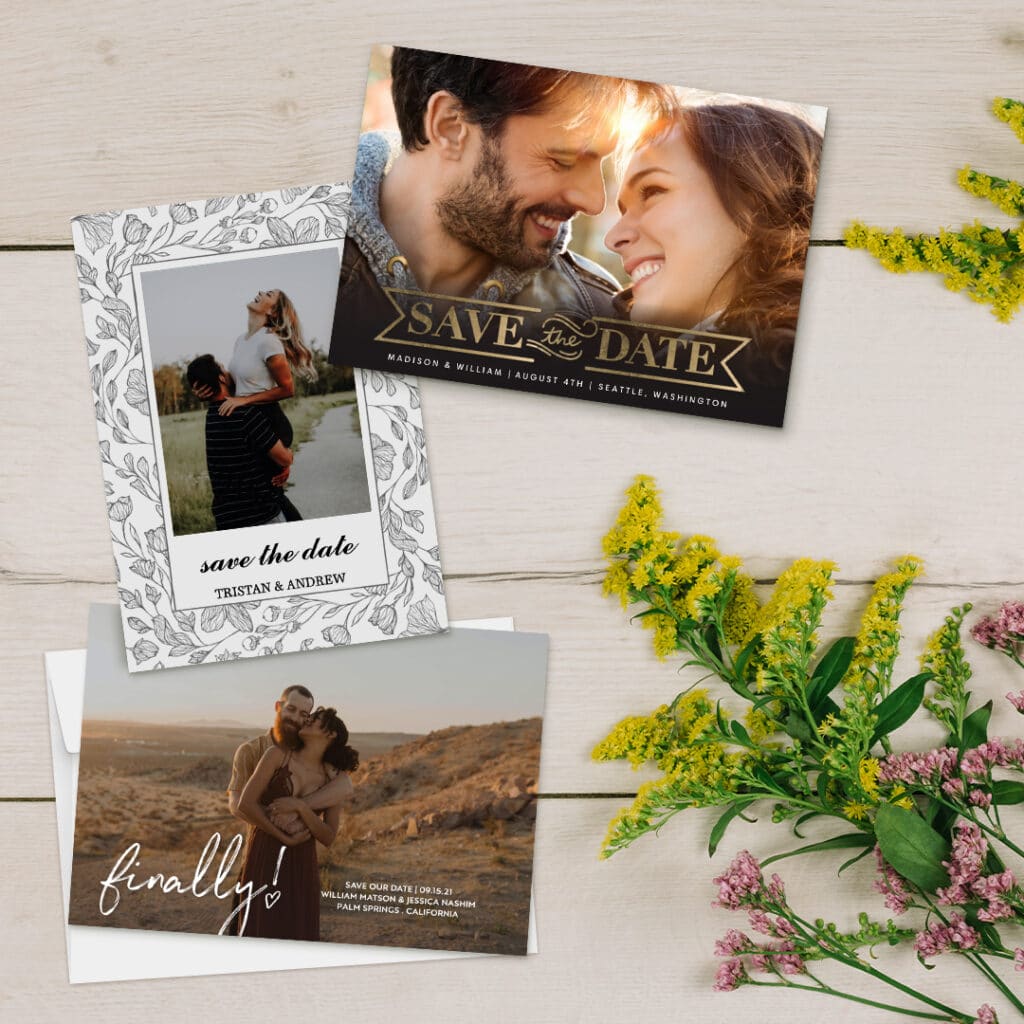
The Snapfish ‘save-the-date’ card templates make it easy to design your cards just the way you like them. In a matter of minutes, you can create the cards that include the photos and designs you love. With everything done online, you’ll be glad you crossed ‘save-the-dates’ off your wedding planning to-do list. Follow these easy steps to design your ‘save-the-date’ cards:
Card Style.
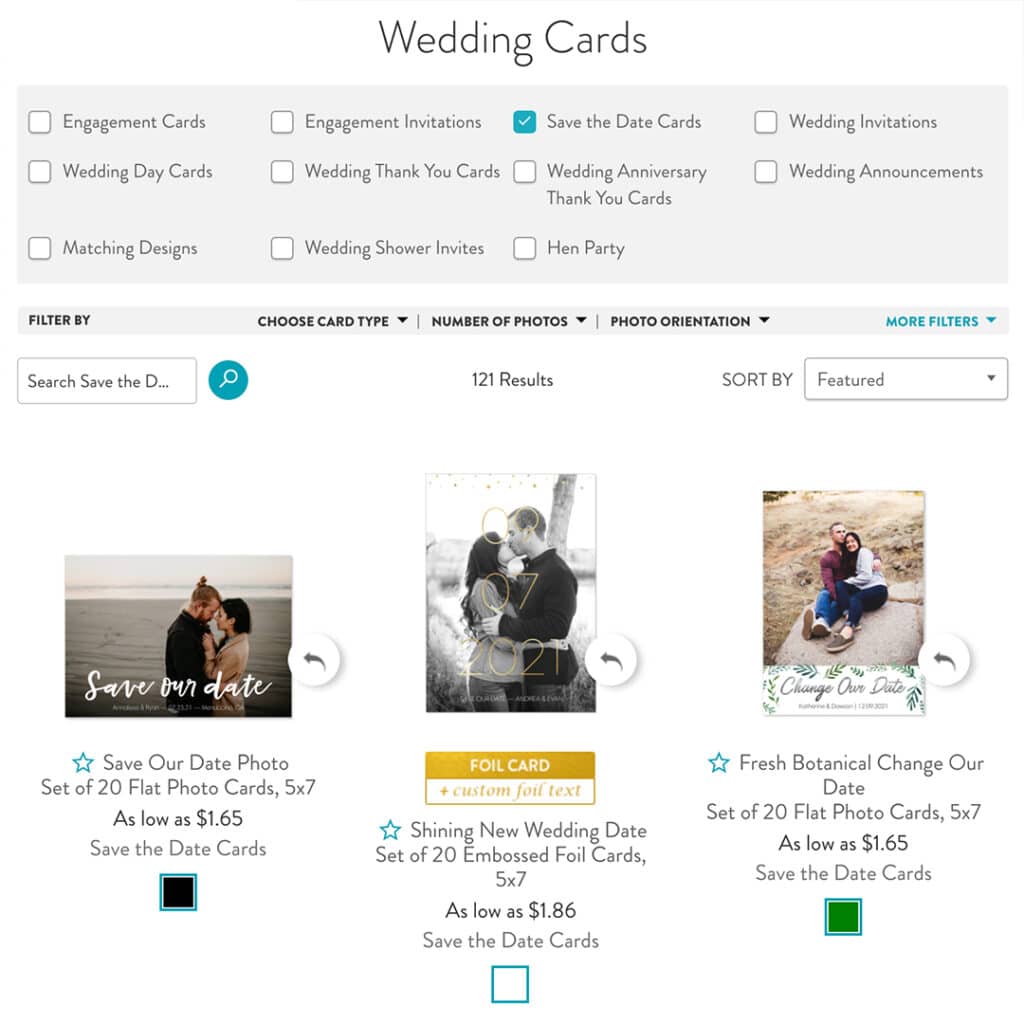
To start, filter Snapfish ‘save-the-date‘ designs using our built-in cards search engine, or you can simply browse all the design styles to find the options you love. As you’re browsing, consider the colors you want to use, as well as the number of photos you want to feature.
Card Size + Format.
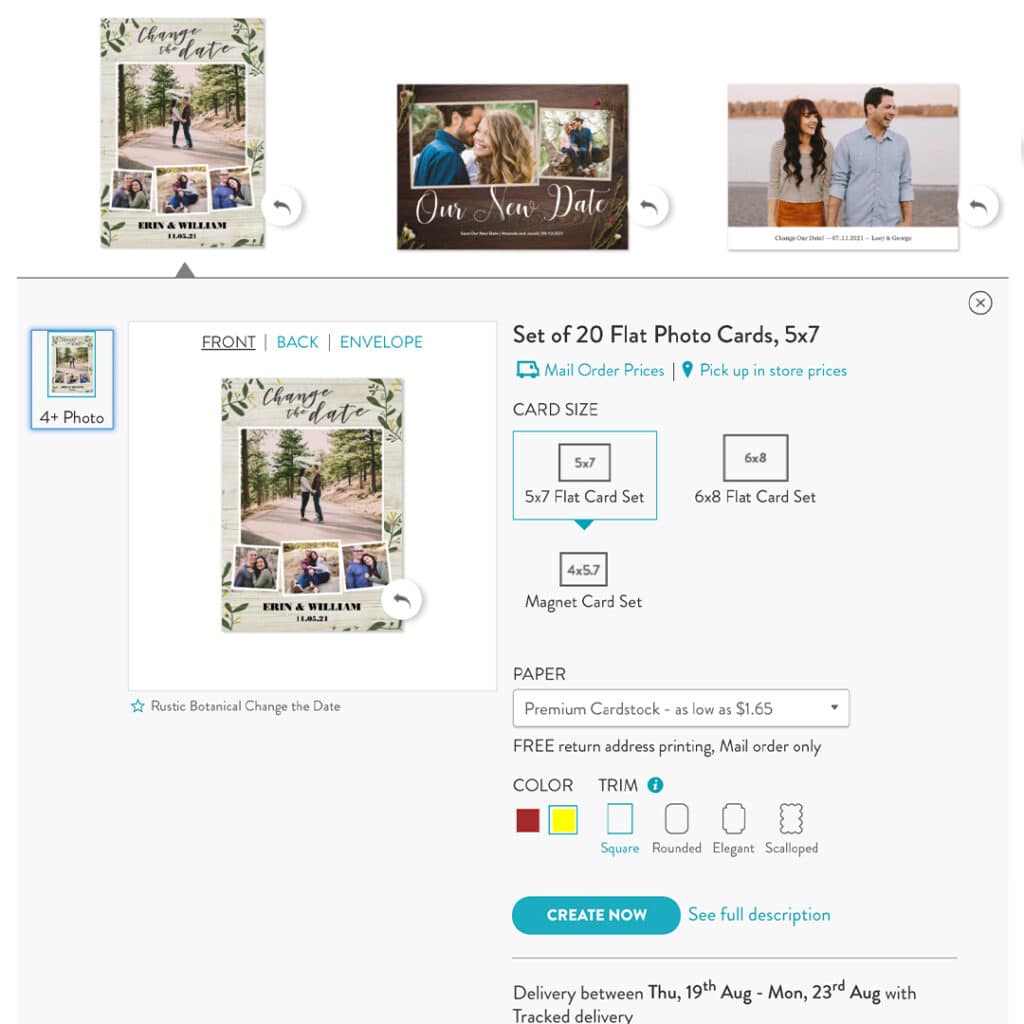
Once you find your favorite wedding announcement card styles, you can personalize by size. Many of our cards come with rounded corner trims and are available in matte or gloss card stock. We also often a wide range of custom foil text card options in gold, silver and rose gold, to make your wedding message shine!
Add Details To Your Card.
Once you’ve chosen the style and size you want, start personalizing with the card’s details. Choose a font color to make your message really stand out. The Snapfish ‘save-the-date’ card maker will guide you through the card’s information. Add your names, event, date, and location. If the card has space, you can also add another message or more details.
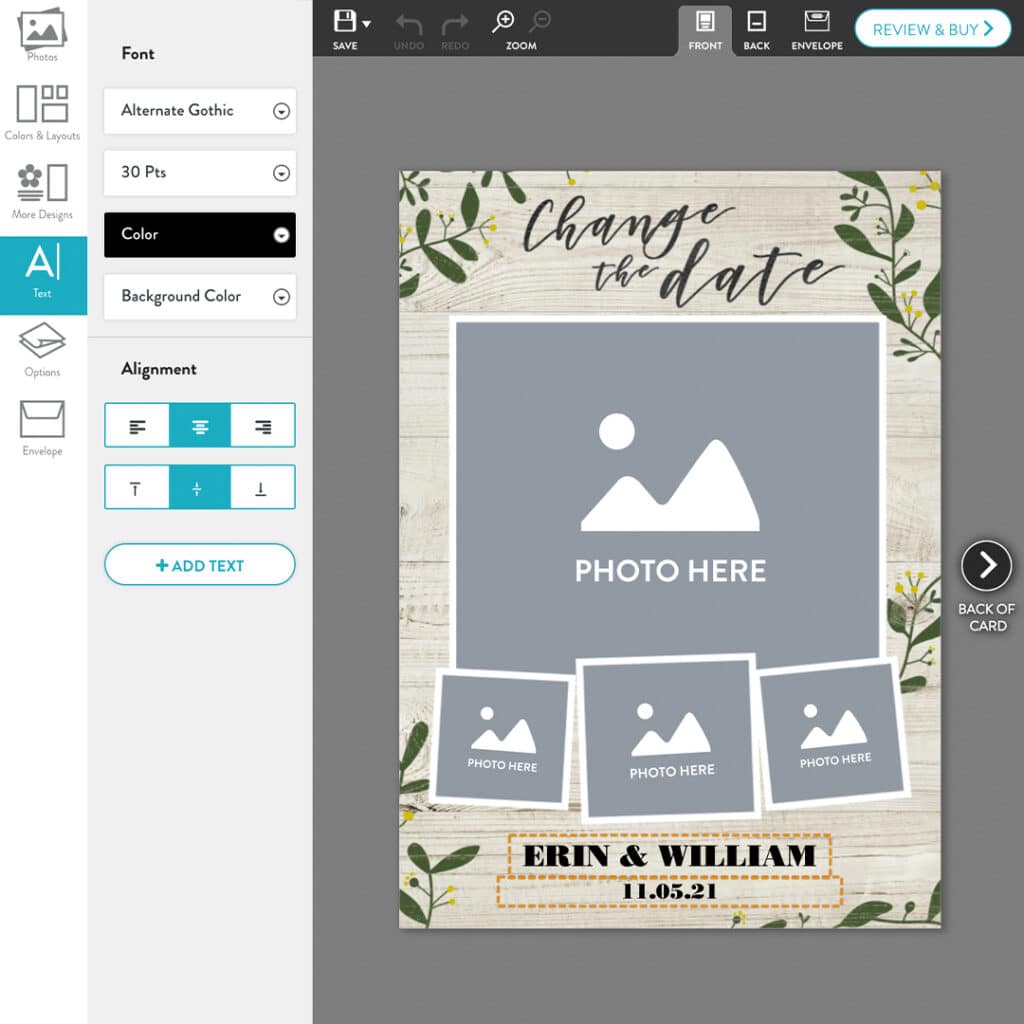
Personalize Your Card With Photos.
Now for the fun part! Personalize your save-the-date card by choosing the photos you want to use. We recommend uploading more photos than you think you’ll need so that you’ll have plenty to choose from.
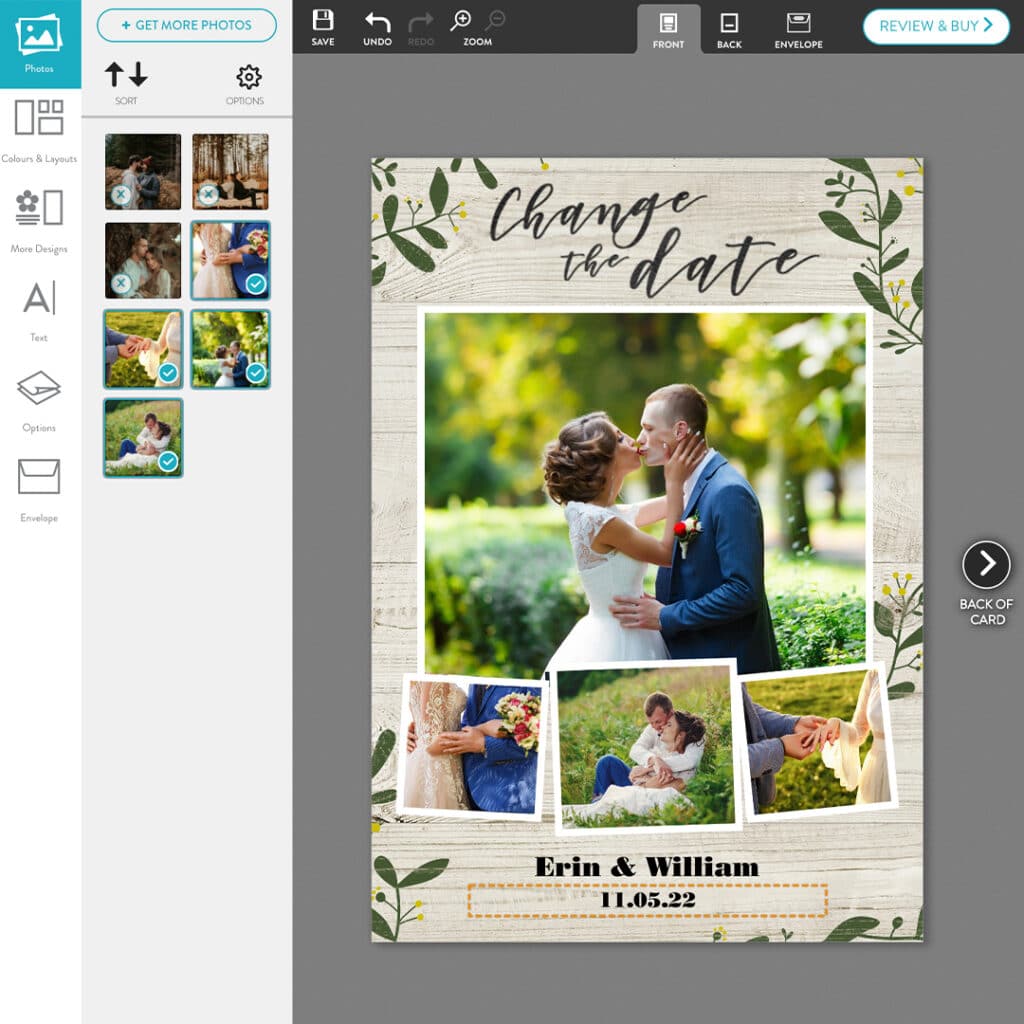
Address Your Card.
Customize the envelope flap with printed return addresses for your guests to RSVP.
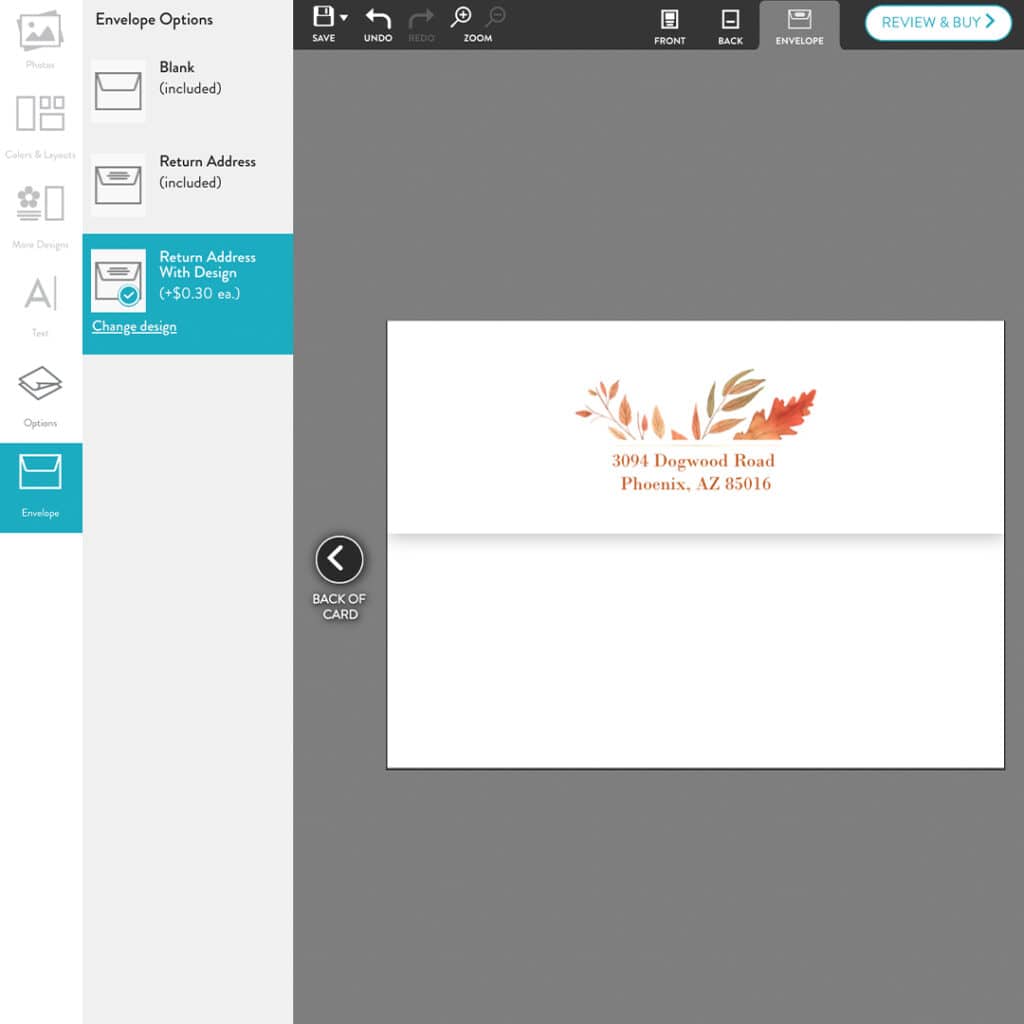
Review Your Card Details.
Once you have designed your save-the-date card, make sure to review and double-check everything for formatting and spelling.
Do You Have To Send Save The Dates?
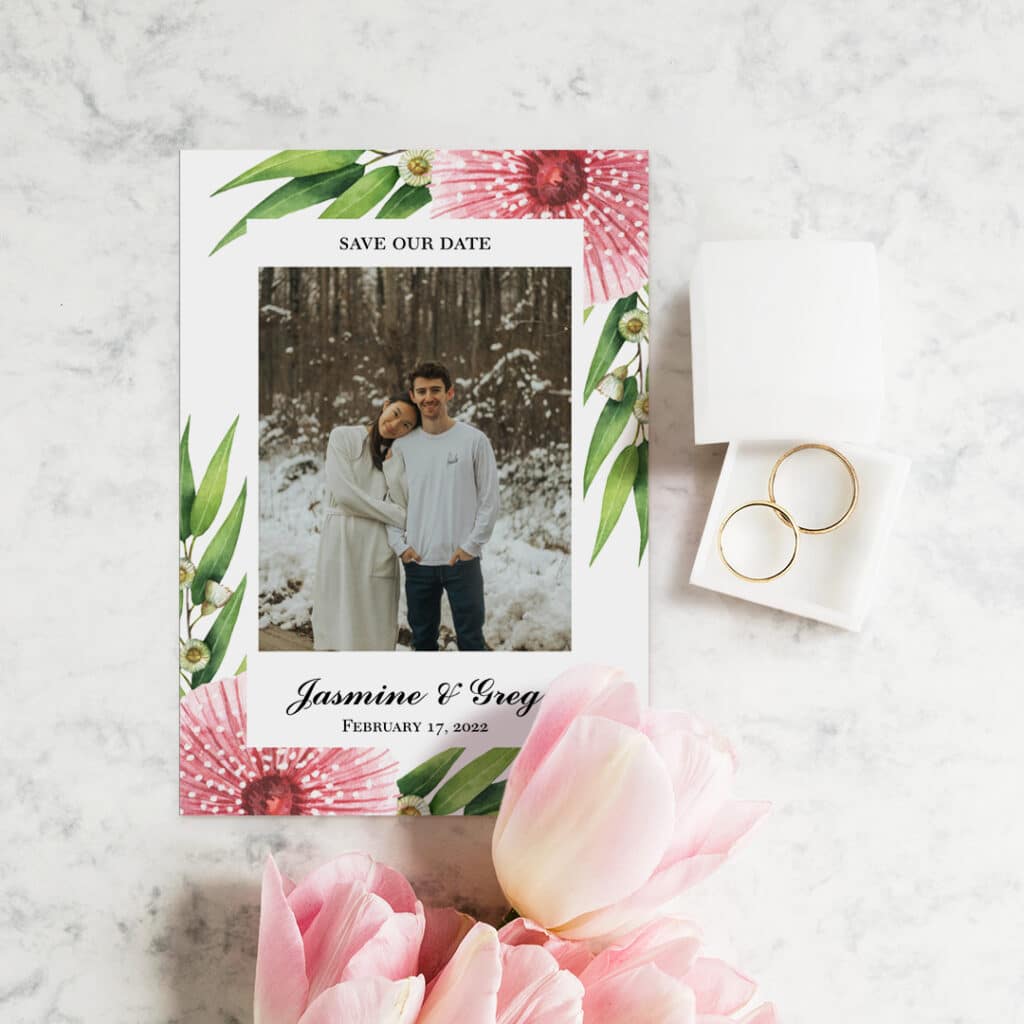
Many engaged couples wonder if ‘save the dates’ are really necessary. The simple answer is “no”, but while your wedding invitations should have all the details your guests need to know, the ‘save-the-date’ announcement goes out before many of those details are finalized and gives the guests more time to prepare and make sure they can attend. If you’re planning a destination wedding, the ‘save-the-date’ card will at least let your guests know when and where the wedding will be happening, so they can work that into their personal plans.
If you’re having a ‘minimony’ or a micro-wedding, you may not need ‘save-the-dates’, but remember to send your invitations early enough, as even with a small wedding, guests will still need time to clear their calendars and make sure no other commitments get in the way.
What Are The Best Ways To Announce Save The Dates?
You want your ‘save-the-date’ announcement to be memorable and for recipients to mark it on the calendar. Therefore, the only information you really need on your ‘save-the-dates’ is the actual wedding date and venue details. If you are wanting to theme your wedding from the start, and to match all the wedding stationery, check out our range of simple yet stylish wedding background designs and choose from some of the popular ‘save-the-dates’ ideas below to showcase your marriage details.
Save The Date Magnets
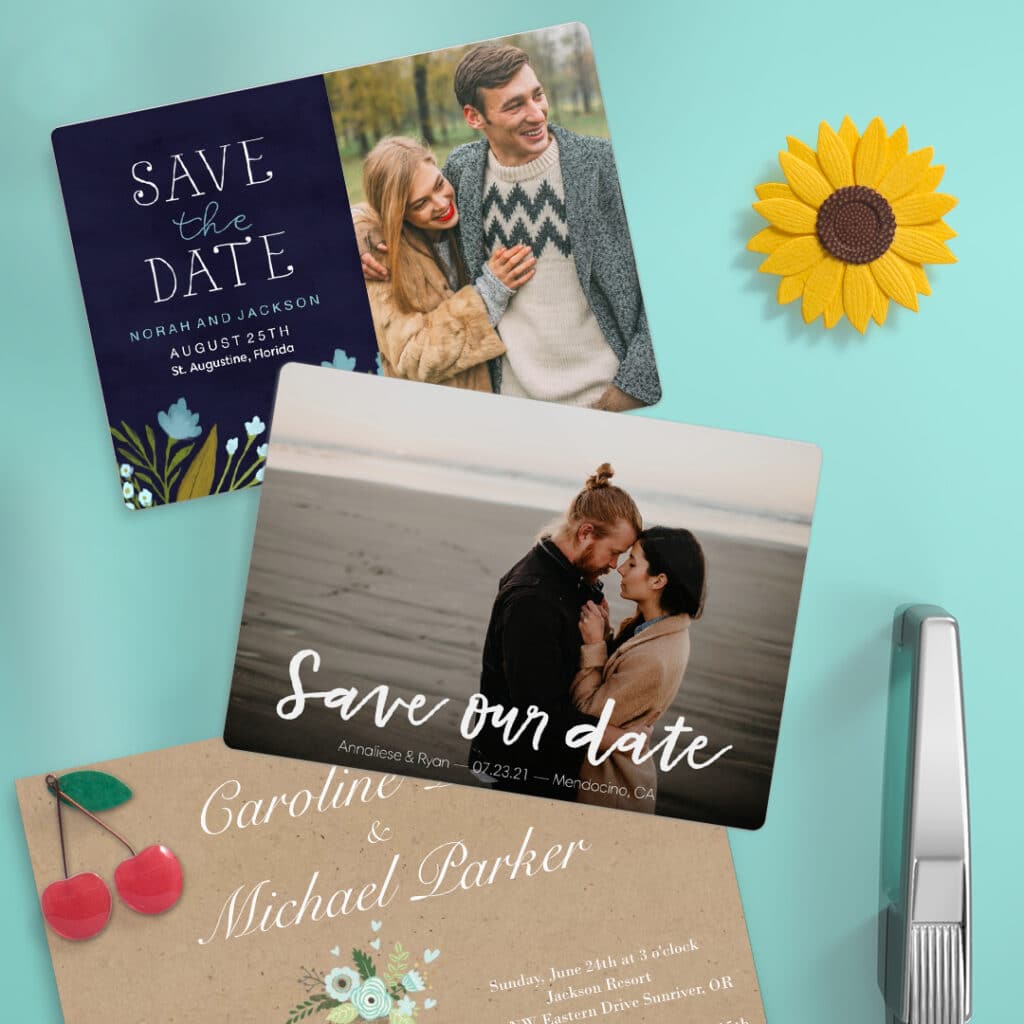
Magnet ‘save-the-dates’ are a simple, modern and popular alternative to help your guests prepare for your big day. With ‘save-the-date’ magnets, you can send them out alone, or combined with the standard ‘save-the-date’ announcement cards. Everyone on your wedding guest list will be able to put up the magnets on their fridge or other metallic surface to keep the wedding date front of mind as they plan their lives around this major event. Check out our new Event Magnet sets, which come complete with envelopes for easy onward mailing!
Snapfish ‘save-the-date’ photo magnets let you feature one or several photos to feature on the magnet and you can customise the font to highlight your wedding date and location details. Custom magnets are a unique way to announce your wedding plans, and they’ll become a unique keepsake you and your guests can keep long after the wedding day is over.
Save The Date Postcards
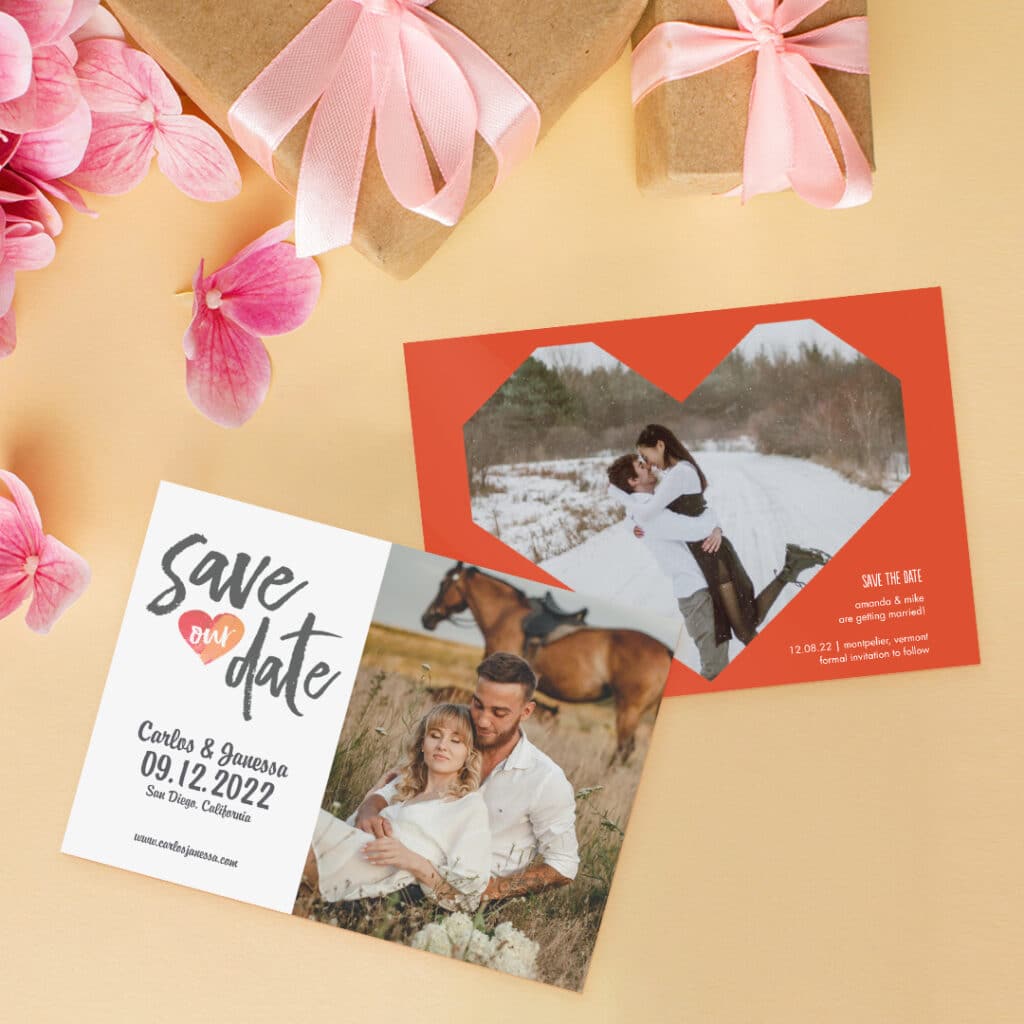
Save-the-date’ postcards, or flat ‘save-the-date’ announcement cards, are a simple and more traditional way of announcing your most important wedding details. If you’ve had an engagement photo taken, you could use that picture, or you could create a collage of multiple photos featuring you and your guests, which will make them smile when the announcements arrive through the mail.
When creating ‘save-the-date’ postcards, you can personalize your message with photos and text. Just add your wedding date and location with a simple note that says “more details will come”, or point them to your wedding website or blog.
Destination Save The Date Cards
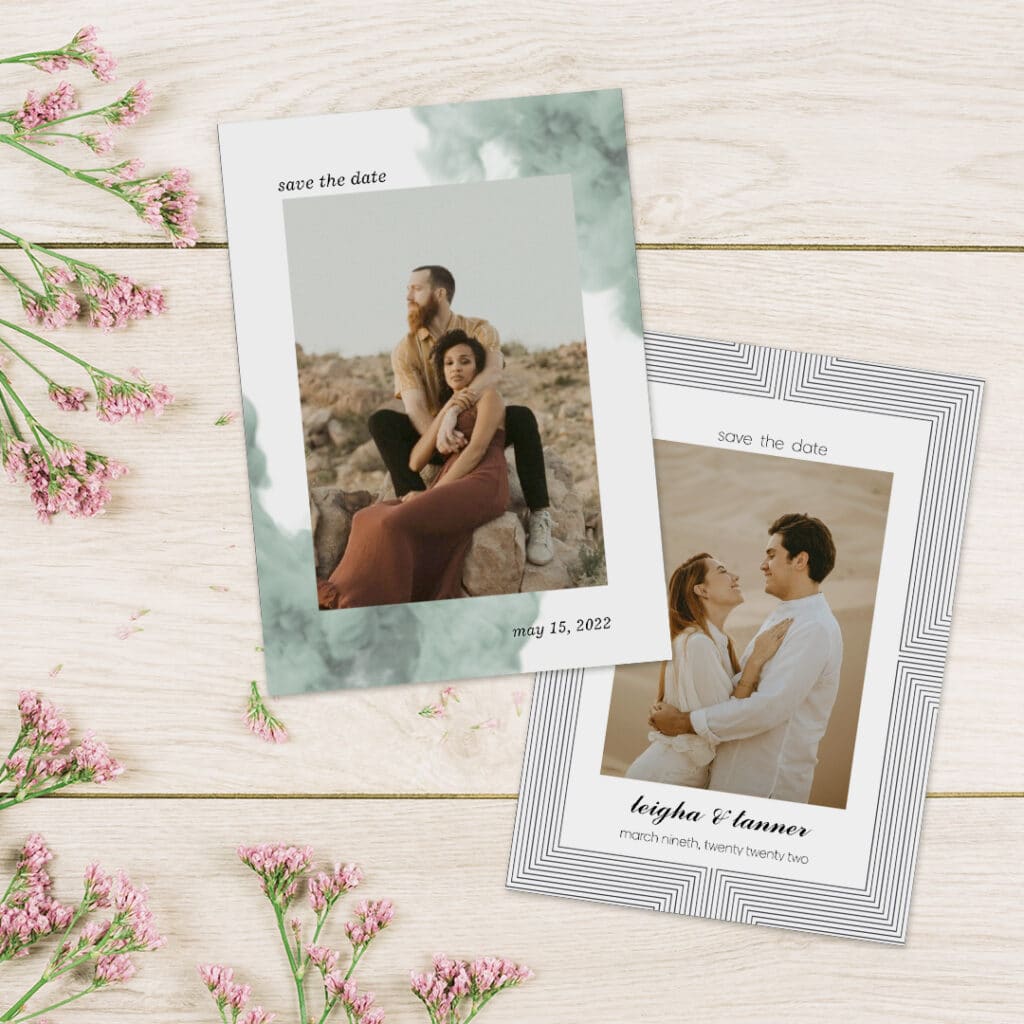
If you’re planning a destination wedding, it is important to send your ‘save-the-dates’ as early as possible to make sure people can block out the date on their calendar. Depending on how far the wedding location is, you might want to send destination ‘save-the-date’ cards out 8-12 months in advance.
When designing ‘save-the-date’ announcements for a destination wedding, designing your ‘save-the-dates’ can give your guests a sneak peek of where you’ll tie the knot. You might want to choose simple backgrounds like palm trees, or a summery photo of yourselves, to let your guests know you’ll be traveling somewhere hot.
Save The Date Cards Themed For The Season
Are you getting married outside of the traditional wedding season? Having a fall or winter wedding can give you a very photogenic backdrop, and it’s usually also cheaper than a spring or summer wedding. If your wedding date is in the off-season, show off the unique landscape with seasonally-themed ‘save-the-date’ cards.
You can include winter-themed photos and warmer colors such as orange and red, which match the season more than brighter pastels. Use your ‘save-the-dates’ to show your guests that you’ll be getting married in a winter wonderland!
When To Send Out Save The Dates
Save-the-dates’ are one of the first things you’ll be able to check off in your wedding planning process. Typically, you would look to send ‘save-the-dates’ out at least six months before your wedding. However, if you’re having a destination wedding, you’ll want to send them out about eight months to a full year before the big day just to play it safe.
Getting your ‘save-the-dates’ out early ensures most of your guests will be able to attend, making your big day even more memorable! Use our wedding stationery timeline below to view where ‘save-the-dates’ fit in your planning process:
Additional Wedding Stationery Ideas
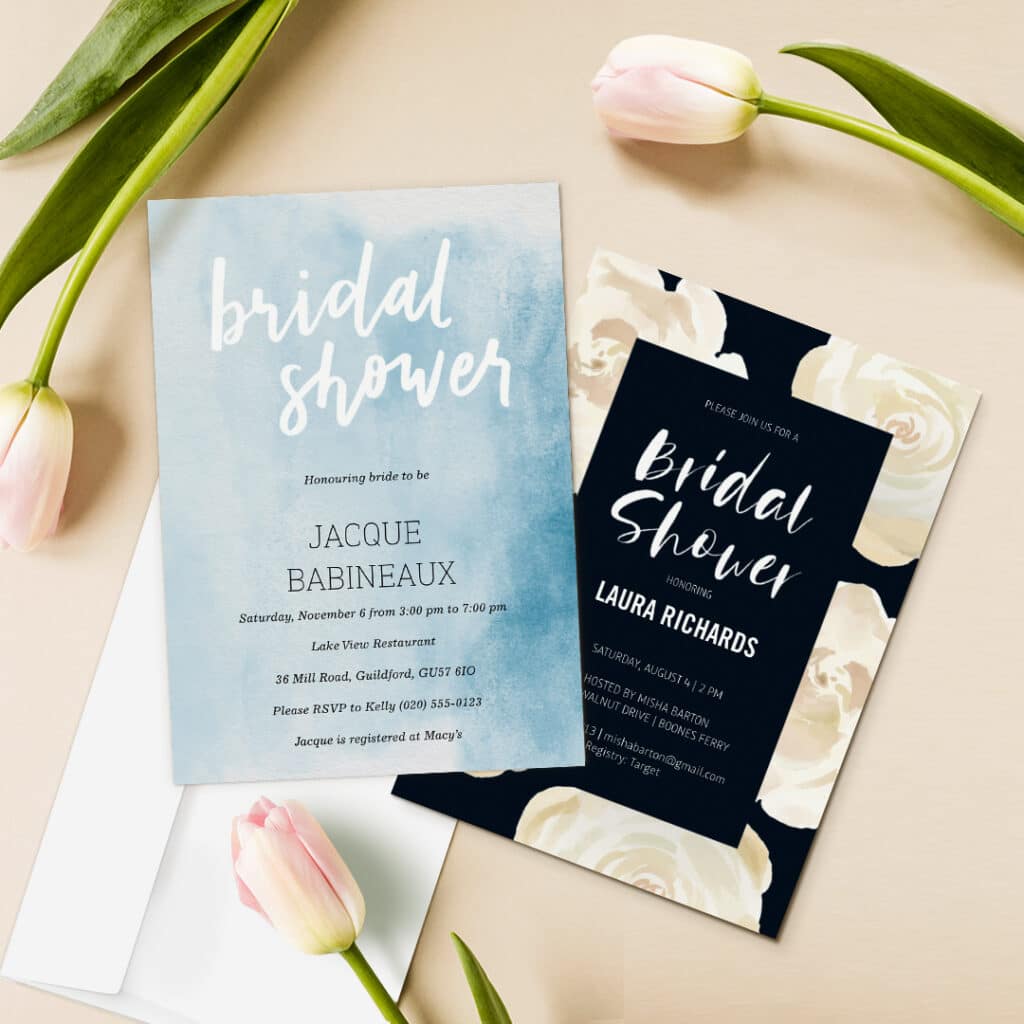
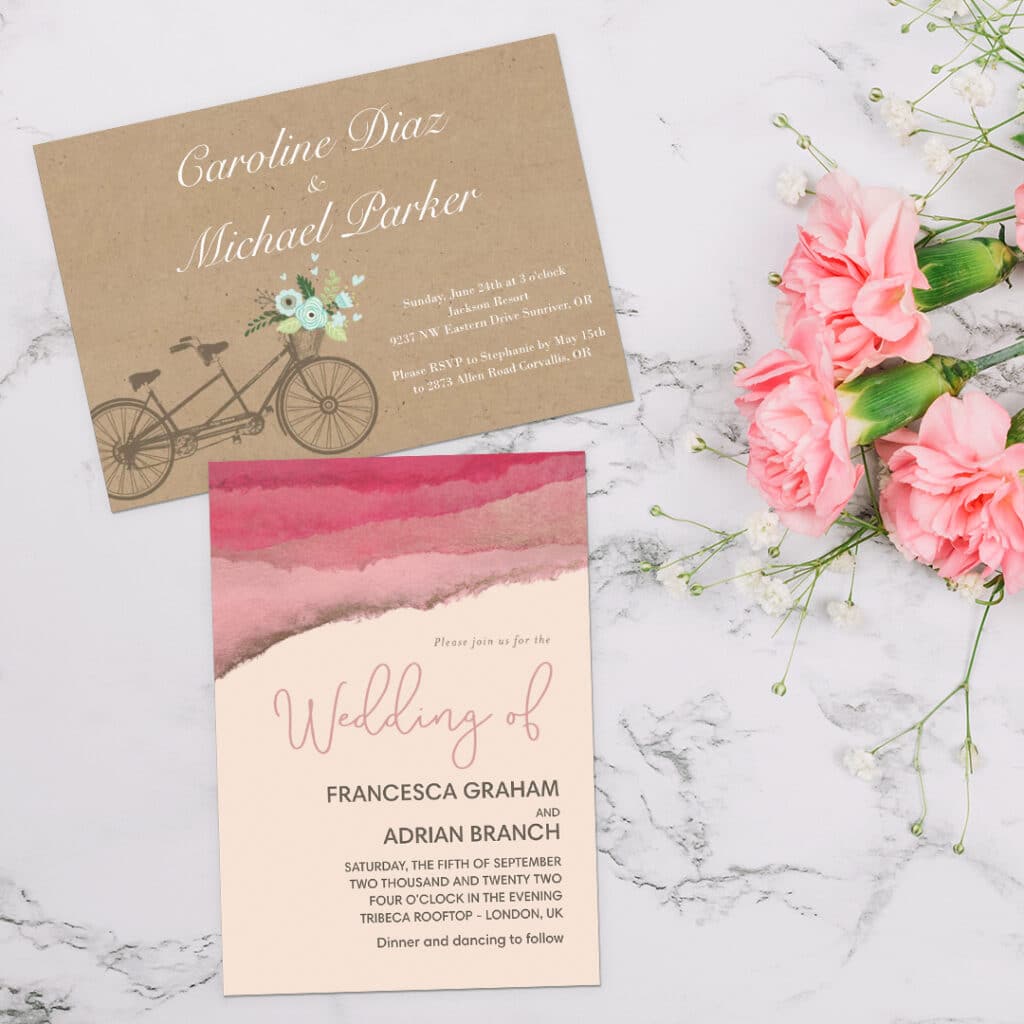
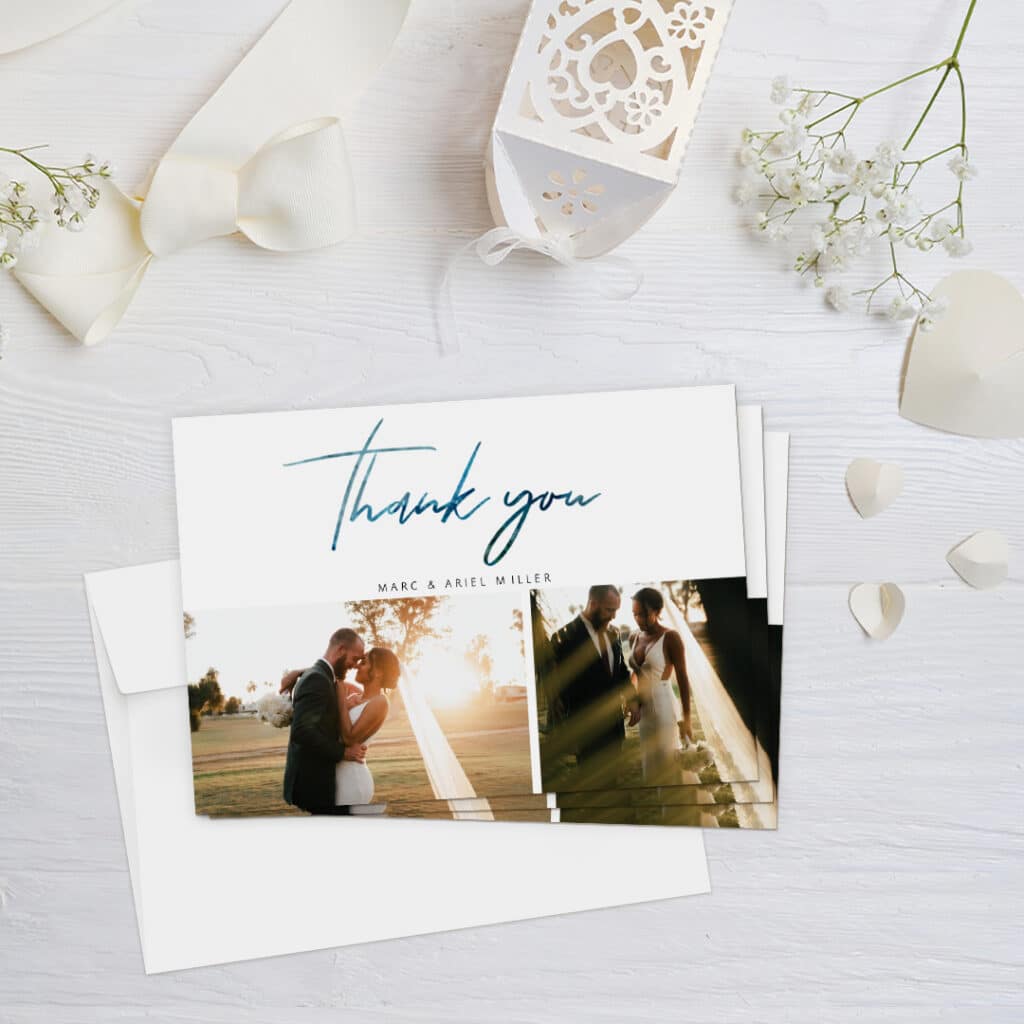
Using Snapfish, you can build a stationery suite that matches the wedding style of your dreams. Alongside themed ‘save-the-date’ cards, you can make similar matching designs for your wedding invitations, thank you photo cards, programs, menus, and much more. Start preparing for your wedding in style with beautiful ‘save-the-dates’ and find everything else you need to match. We promise you and your guests will love everything you customize since it’ll showcase your unique personality!
If you are looking for some wedding card design inspiration, read our blog posts on wedding invitation styles and designs that are perfect for you.
We can’t wait to see what you’ll create and customize for the big day! Please tag us with @snapfishUS and #snapfish when you share your photos on Instagram, Pinterest and Facebook. You can watch some of our helpful How-To tutorials on YouTube, as well.
