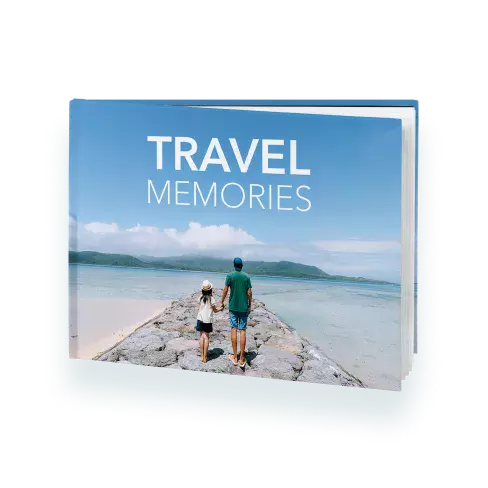
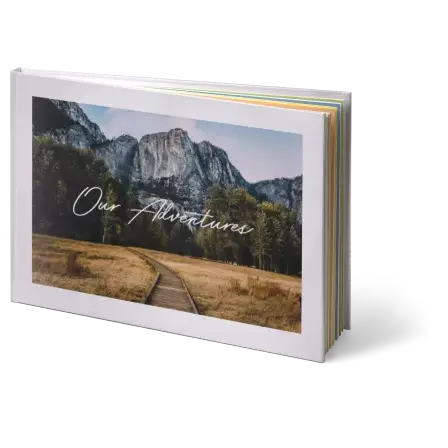
Photo books
The moments you love
made gift-worthy.
The moments you love
made gift-worthy.
Ends: 6/9

Enjoy a brand-new deal each day!
Enjoy a brand-new deal each day!
Ends: 6/9


Transform your everyday photos into Photo Cards, Photo Books, Canvas Prints, and Photo Gifts
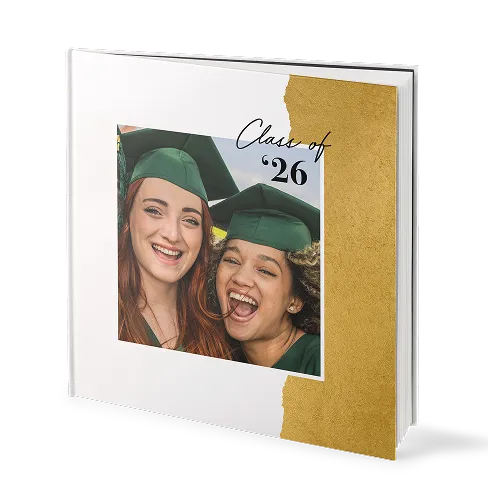
Graduation made unforgettable.
Create personalized cards + gifts for their big moment.


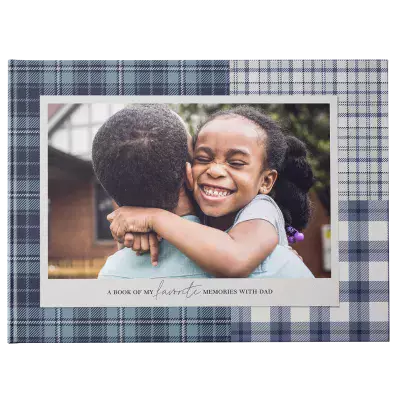
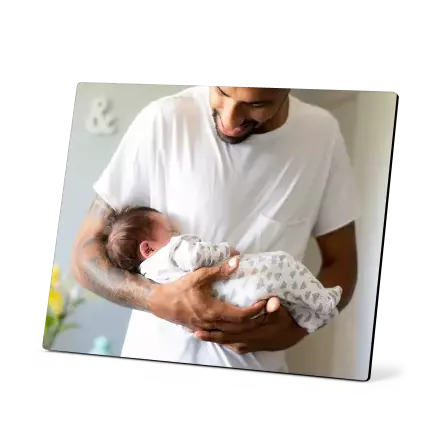
Everyday moments. Classic Dad.
Create Father's Day cards and gifts made from the moments that feel most like Dad.


Snappy savings


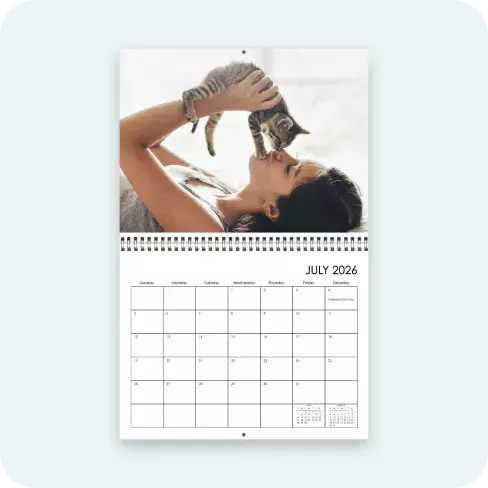
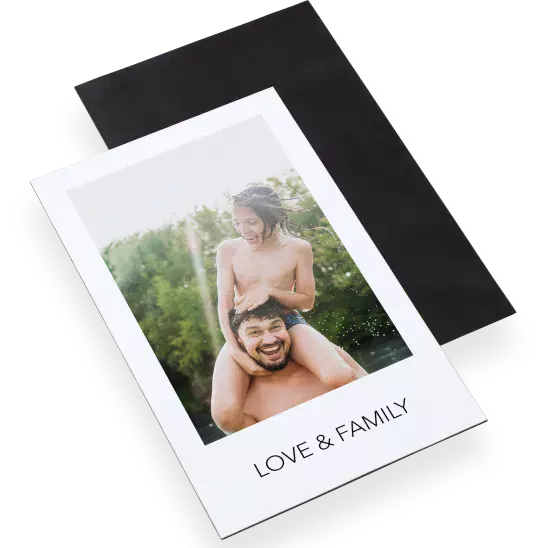
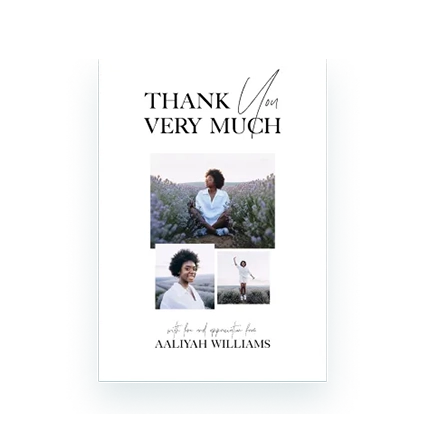
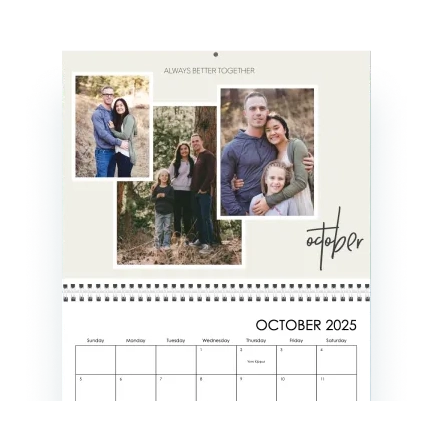
More products you’ll love


Need it today?
Order select prints, cards, gifts, and calendars for same-day pickup at your CVS or Walgreens.
Our Snapfish Promise
We make it easy, affordable, and fun to create magic out of any memory.
Ease
Make it in a snap.
Turning memories into magic? It’s a breeze with our intuitive tools and design templates.
Value
Priced to love.
Create keepsakes that wow—without the splurge. Because your photos deserve style and savings.
Quality
Every detail counts.
We select the finest papers, inks, and materials so your personalized items stand out and stand the test of time.
Guarantee
Trusted for 25 years.
With decades of experience, we stand behind every order—and if you’re not satisfied we’ll make it right.
Fun ways to create with Snapfish
print page name : home
print page url : /home
dcr path:
isFooterOff : true
isFooterOff1 : false
isItAmazonCobrand : false